
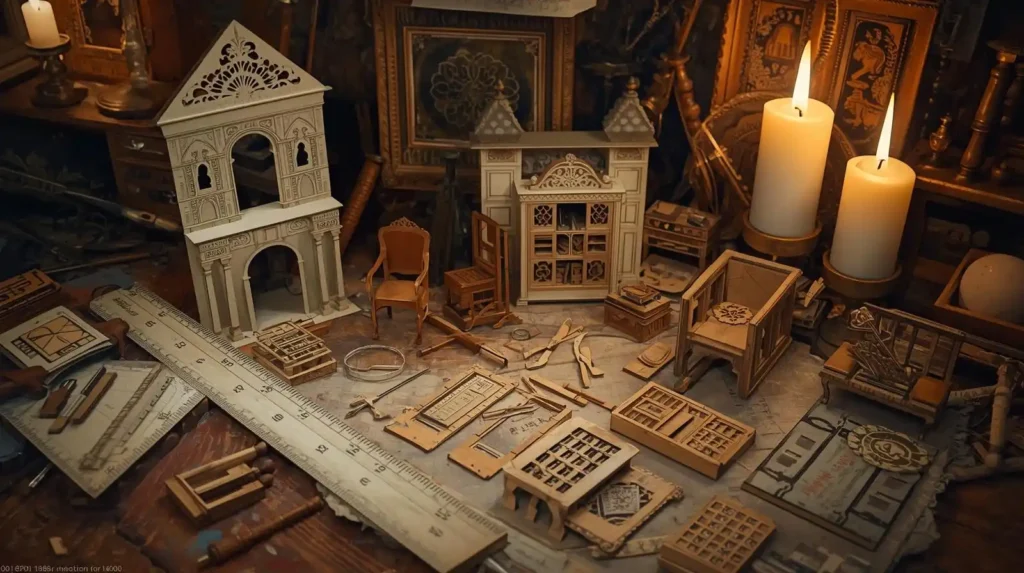
Introduction
If you’re reading this, you already have the spark: you want to make your own miniature furnishings rather than buying them. That’s the heart of DIY dollhouse furniture—bringing your creative vision to life in tiny scale. In this tutorial you’ll walk away knowing not only how to build basic pieces, but also why each step matters, how to troubleshoot, and how to adapt to your style.
I’ll show you the method, and along the way share tips I’ve gathered from top-ranked DIY dollhouse furniture tutorials online, plus fill in gaps I’ve noticed (for instance, many tutorials skip the finishing detail or scale-checking). By the end, you’ll be confident to design miniature chairs, tables, or even entire furniture sets.
Why Build Your Own Dollhouse Furniture?
Before jumping in, let’s acknowledge the benefits:
- Custom fit and creativity: You can design to your dollhouse dimensions, color palette, or theme.
- Cost savings: Ready-made miniature furniture can cost disproportionately more per piece.
- Skill development: Making one piece improves your understanding of scale, joinery, materials—and that translates to better projects going forward.
- Satisfaction: There’s real joy in seeing a piece you made by hand in your diorama.
Many high-ranking tutorials assume you have experience; I’ll start from first principles so you can follow along even if you’re relatively new.
Materials, Tools, and Preparation
Before starting, set yourself up. A strong foundation makes the building smoother.

Essential Supplies & Tools
Based on trusted resources like Life in Mini’s supply list, you’ll want to assemble:
- Thin basswood or balsa wood sheets (1/16″, 1/32″)
- Craft popsicle sticks, mini dowels, or wood slats
- Sharp hobby/X-acto knife and replacement blades
- Small cutting mat
- Metal ruler, with cork backing to prevent slipping
- Sanding sticks or fine-grit sandpaper
- Small clamps, binder clips, tweezers
- Glue types: wood glue (clear-drying), tacky glue, super glue (for quick holds)
- Paints (acrylics), wood stains
- Mini brushes, fine detail brushes
- Optional: tiny nails or pin nails, micro drill bits, miniature hardware
- Optional: polymer clay, resin (for knobs or decorative elements)
- Workspace with good lighting
You don’t need everything at once—start with basics, and gradually expand tools.
Scale & Measurement
Decide your dollhouse’s scale early, for instance 1:12 (i.e. 1 inch = 12 inches). Everything you build must maintain that ratio. Use a scale ruler if you have one. Always mock up with paper cutouts: cut shapes that represent legs, tabletops, backs, glue into place first before investing in wood cuts. This helps you catch proportion errors early.
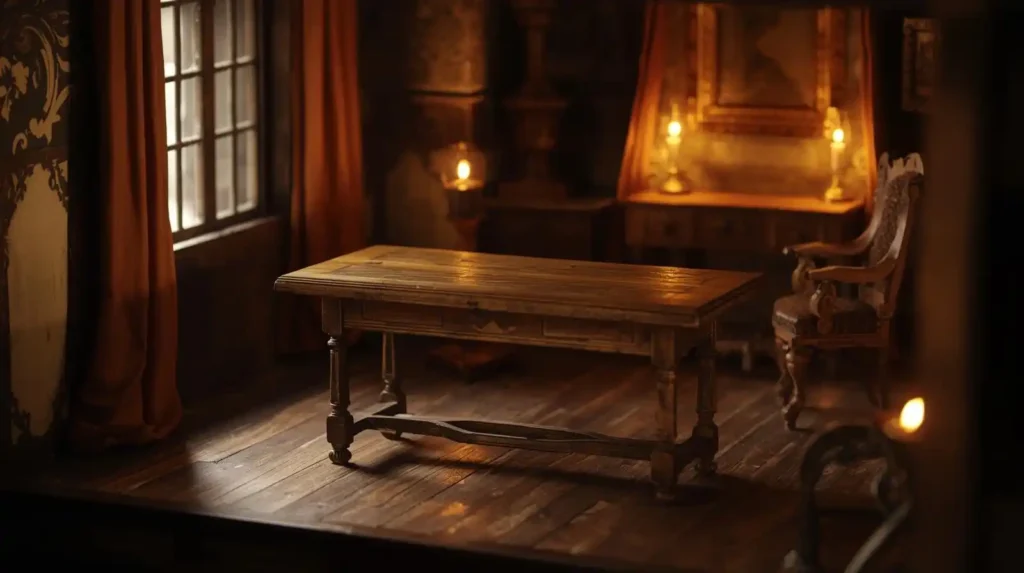
Step-by-Step Tutorial: Building a Simple Dollhouse Table
I’ll walk you through one representative project: a small table. Once you understand the process, you can adapt to chairs, cabinets, dressers, etc.
Step 1: Planning & Sketching
- Sketch the table you want (e.g. a café table, side table).
- Decide dimensions: for 1:12 scale, maybe a 4″ × 2.5″ top, 3″ tall.
- Break it down into parts: top, apron (skirt), legs.
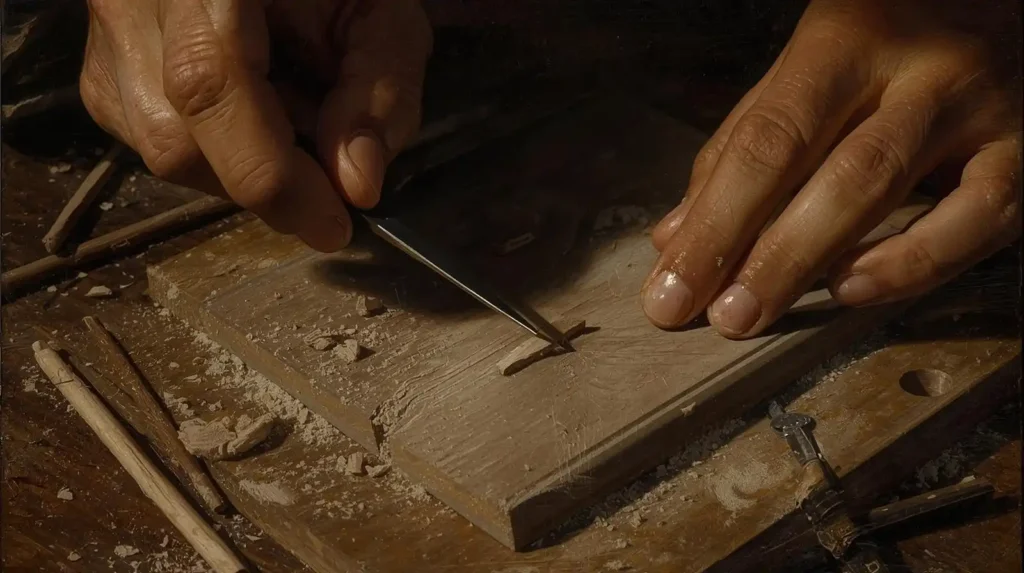
Step 2: Cut the Tabletop & Apron
- From basswood sheet, use your ruler and knife to cut the tabletop to size.
- Cut apron strips (for the skirt beneath the table edge).
- Label each piece lightly in pencil so you don’t confuse parts.
Step 3: Sand & Clean Edges
- Lightly sand the edges to remove splinters or roughness.
- Check that surfaces are flush, corners square.
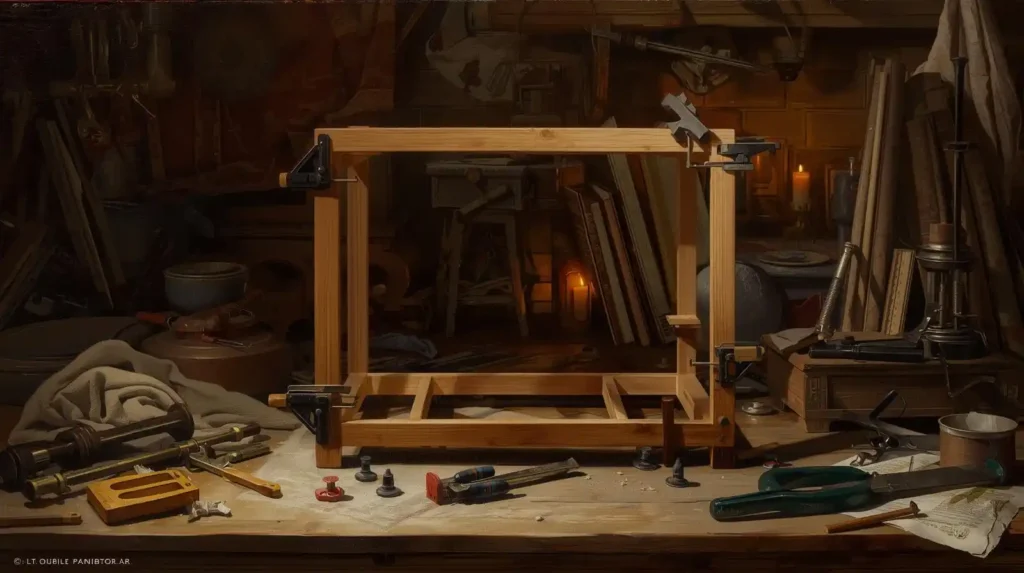
Step 4: Assemble Apron to Tabletop
- Set the top, then glue the apron strips at the underside edges. Use clamps or clips to hold while drying.
- Ensure alignment so the skirt doesn’t sit crooked.
Step 5: Prepare & Attach Legs
- Cut four leg pieces to your planned height, considering you’ll have squares at joint faces (for glue surface).
- If you want tapered legs, sand the sides subtly.
- Apply glue at the top of each leg, attach inside the apron corners. Use a square or right-angle jig to ensure perpendicular legs.
- Let it cure fully before moving.
Step 6: Strengthen with Corner Braces (Optional)
- Some crafters add small triangular braces (tiny triangles cut from scrap wood) beneath the apron corners for reinforcement.
- Glue in place temporarily and trim flush later.
Step 7: Fill Gaps & Sand
- Use a small amount of filler (e.g. wood filler or painted-on acrylic) in any gap.
- After drying, sand lightly so joints appear seamless.
Step 8: Primer, Paint, or Stain Finish
- Apply a thin primer or base coat, let dry.
- Then apply colors or wood stain. Use multiple thinned coats rather than thick ones to preserve detail.
- Optionally, seal with matte varnish.
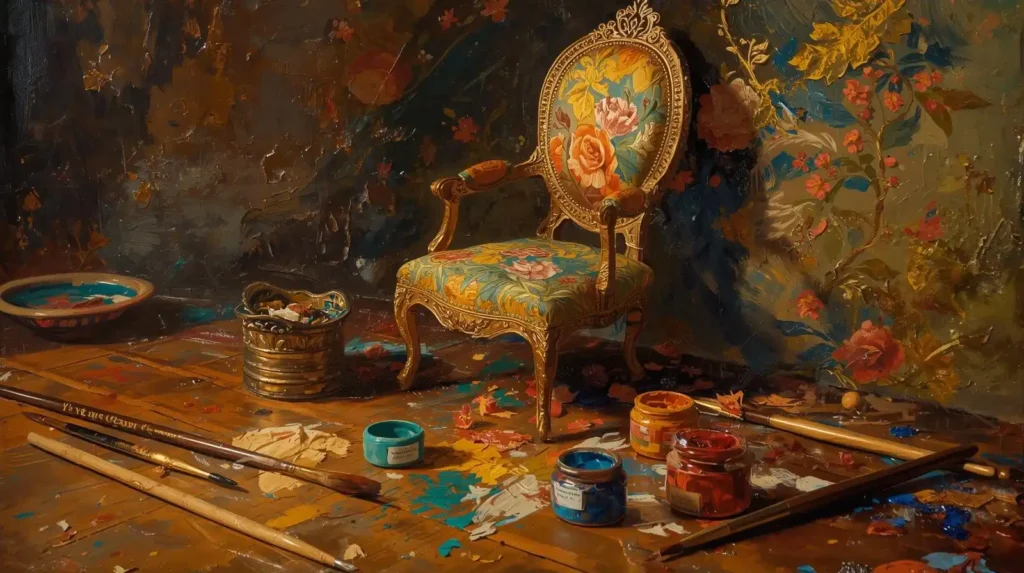
Step 9: Add Details
- Add miniature knobs, decals, or trim.
- For example, a tiny bead can become a drawer knob.
- Or, carve shallow grooves or add decorative molding.
Once you’ve successfully built one table, the next ones go more quickly. Use the same sequence: plan → cut → assemble → finish → detail.
Expanding Into Other Pieces
Once comfortable with the table workflow, you can create:
- Chairs & stools: Use similar aprons, backs, seat panels; sometimes integrate small dowels.
- Beds & dressers: Use drawer boxes, back panels, top boards, miniature hinges or knobs.
- Cabinets & shelves: Use box construction, adjust for back panel and shelf thickness.
If you’re looking for style ideas or material recommendations, see the dollhouse furniture guide to explore classical, rustic, modern styles, and different materials. When you want to see examples of beginner-friendly sets you can reference or adapt, check best dollhouse furniture.
Tips, Tricks & Best Practices
Here are lessons I’ve learned (and ones that many SERP tutorials neglect to emphasize):
-
Mock-up first
Use paper or cardstock to test fit before cutting wood. Many disasters come from mis-scaled cuts. -
Glue sparingly
Excess glue oozing out can ruin your finish. Use small applicators (pinheads, toothpicks). -
Clamp smartly
Use rubber bands, binder clips, or custom jigs to hold parts. Sometimes weight is enough—place a straight block on top while glue sets. -
Work in stages
Build the “skeleton” first (frame, legs), then do finishing and decoration last. That keeps fragile trim safe. -
Sand between coats
A super-fine sanding pad between paint coats produces smoother finishes and hides brush marks. -
Color planning
Use neutral or natural wood tones first; then accent with bold colors. Many tutorials skip color harmony. -
Scale-check often
Place your mini furniture piece in your dollhouse mid-build to see how it feels; it’s easier to adjust early. -
Batch work
If making many chairs, cut all legs at once, then sand together, glue together, and paint together. Efficiency helps. -
Keep a clean workspace
Tiny bits get lost easily. Use trays or magnetic mats. -
Photograph and document
Keep reference photos or sketches. Later you may want to replicate or adapt designs.
Also, many high-quality tutorials (e.g., videos showing making a mini cabinet or mid-century armchair) emphasize adding cushion layers or upholstery after building the frame. You may integrate textiles or foam for realism.
Troubleshooting Common Problems
| Problem | Likely Cause | Solution |
|---|---|---|
| Leg is crooked or not vertical | Joint misalignment or lack of jig | Use a small right-angle block or jig to align; unclamp and re-adjust before glue dries |
| Glue oozes | Too much glue or misalignment | Apply less glue; wipe excess immediately; clamp firmly |
| Paint cracks or peels | Thick paint or insufficient sanding | Use thin coats; sand lightly between coats |
| Small parts break | Wood too thin or stressed joints | Use stronger/slightly thicker wood; reinforce corners |
| Scale looks off | Mis-measured scale or wrong proportions | Reassess ratio; use a scale ruler; mock up with paper first |
Use Cases & Ideas for Your DIY Dollhouse Furniture
Here are some ways your finished pieces can shine:
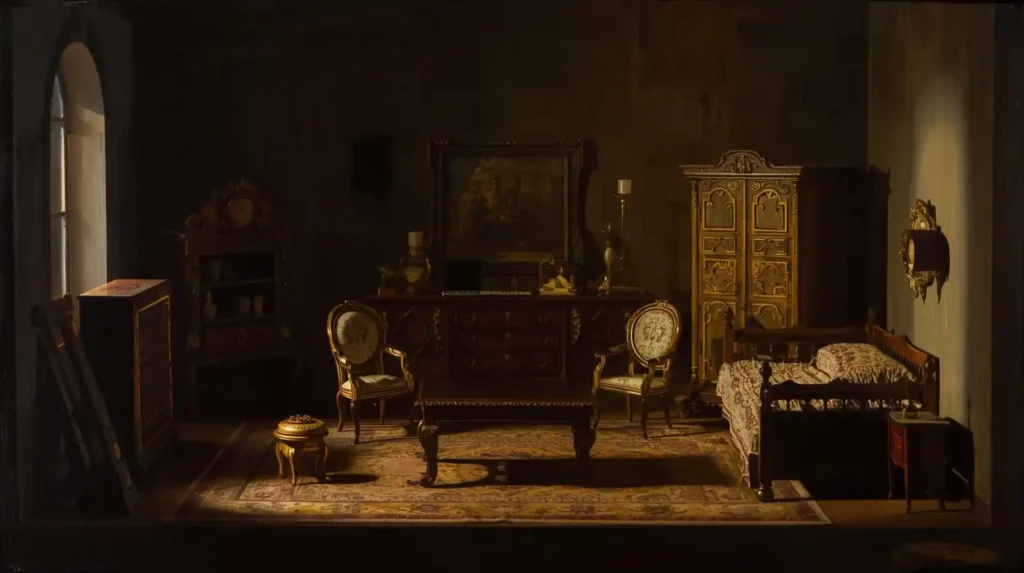
- Thematic rooms: Build a Victorian parlor set, a mid-century living room, or a rustic cottage kitchen.
- Custom rooms: Fit furniture to odd-shaped rooms or customized dioramas, which is easier when you build yourself.
- Mini scenes & staging: Use your own table or chairs to stage little vignettes (e.g. tea party, reading nook).
- Gift or commission work: Once confident, you might gift a bespoke furniture set or even sell miniature furniture crafts.
- Prototyping: Use your self-made pieces as prototypes for 3D printing or casting.
In your crafting journey, you might eventually combine handmade furniture with store-bought miniatures (for challenging parts). That hybrid approach often gives you flexibility and speed.
Final Thoughts
By following this DIY dollhouse furniture tutorial, you’re not just copying; you’re building a foundation of skill. After your first few furniture builds, you’ll gain intuition about scale, joinery, and design. Let each piece be a lesson and a step to greater projects.
FAQ
1. What scale should I use for my dollhouse furniture?
Most miniature hobbyists use 1:12 (one inch = one foot) or 1:24 scale. Choose a scale that matches your dollhouse or collection so pieces look proportional. Always check with a scale ruler.
2. Can I use polymer clay or resin to make furniture?
Absolutely. Polymer clay is ideal for small decorative elements (knobs, trim), while resin (or two-part epoxy) can be used for casting repeat parts. Use a mix of wood + decorative clay/resin accents for durability.
3. How long does it take to build a piece?
A small table might take 1–2 hours for a beginner (cutting, sanding, gluing, finishing). More complex items, like cabinets with drawers, might require several sessions.
4. Is it okay to mix store-bought furniture with my DIY pieces?
Yes. Many crafters use hybrids—DIY for custom or signature pieces, and ready-made ones for more intricate or difficult items. The goal is a cohesive scene, not perfection.
5. How do I get smooth paint finishes on tiny furniture?
Use thin, watered-down coats; sand lightly with very fine grit (e.g. 600–1000) between coats; apply a sealant at the end. Also, good lighting and patience make a big difference.
6. Where else can I find inspiration or tutorials?
Alongside this tutorial, you can explore online video lessons (e.g. making a miniature cabinet or armchair). Communities, blogs, and forums on miniature furniture crafts also offer many free printables, scale plans, and shared techniques.

