
Introduction
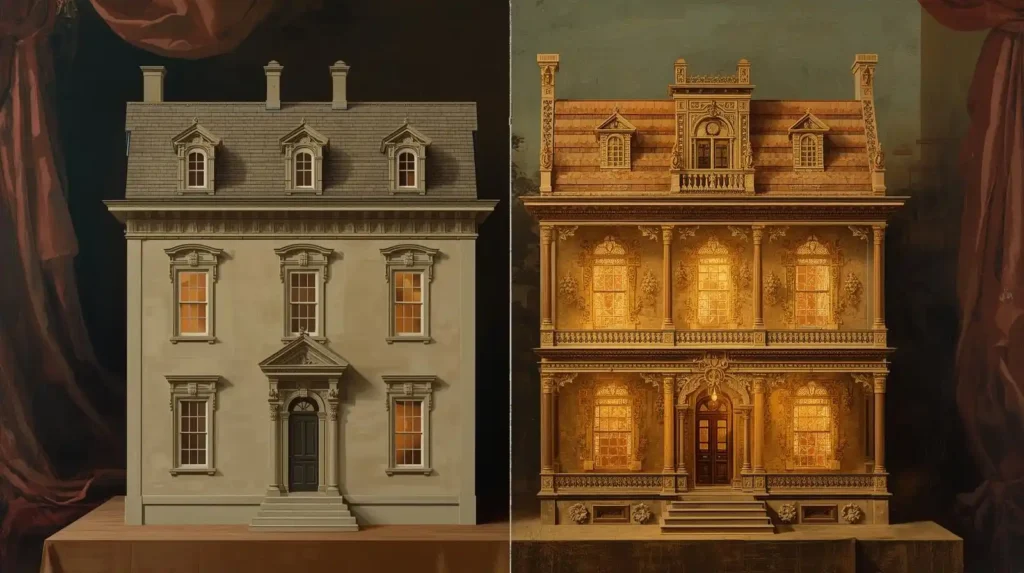
So, you’ve already assembled a few dollhouse kits and now you’re itching to push further. You want something beyond the “out-of-the-box” look — something uniquely yours. This is where dollhouse kit bashing comes in. Kit bashing is the creative practice of modifying, altering, or combining kit components to produce a one-of-a-kind miniature home.
In this ultimate guide, I’ll walk you through the mindset, tools, and step-by-step techniques you’ll need. You’ll learn how to alter walls, experiment with trims, adapt furniture, and even blend multiple kits into new designs. By the end, you’ll feel confident enough to take that standard kit and make it truly yours.
1. Understanding Kit Bashing
1.1 Customizing vs. Kit Bashing
It’s important to know the difference. Customizing usually means repainting, swapping wallpapers, or upgrading flooring. Kit bashing goes deeper — cutting into walls, enlarging windows, adding wings, or blending furniture pieces until the kit is no longer recognizable as “stock.”
If you’re still debating whether to start from a pre-made kit or jump straight into scratch building, take a look at From Kits to Custom Builds: How to Choose Your First Dollhouse Project. It breaks down the pros and cons of both approaches and can help you choose the right path.
1.2 Choosing the Right Kit to Bash
Not every kit lends itself to modification. Look for tab-and-slot plywood kits (like Greenleaf), which are easier to cut and reassemble. Kits with plain façades, minimal trim, or modular interiors are also great candidates. And remember — simpler kits often make the best starting points for experimentation.
2. Planning Your Vision
2.1 Define Your Style and Theme
Do you want a Victorian Gothic mansion, a shabby-chic cottage, or a mid-century loft? Define your style before cutting into your kit. This helps ensure your modifications and furniture align aesthetically.
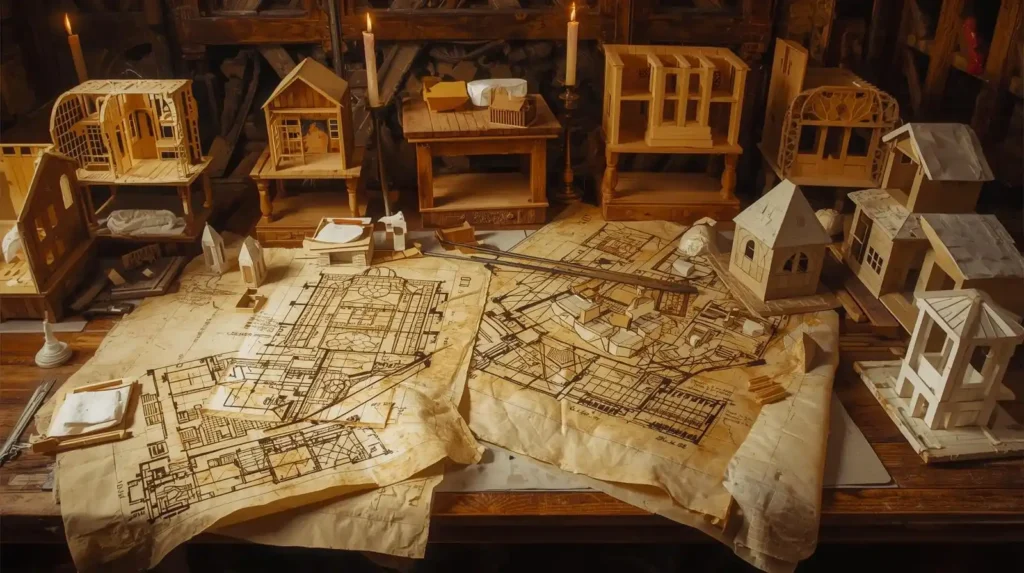
2.2 Sketch and Prototype
Draw floor plans or make paper models of new extensions. Even basic sketches can prevent costly mistakes. Miniaturists often use foamboard mockups to test room arrangements before committing to wood or plywood.
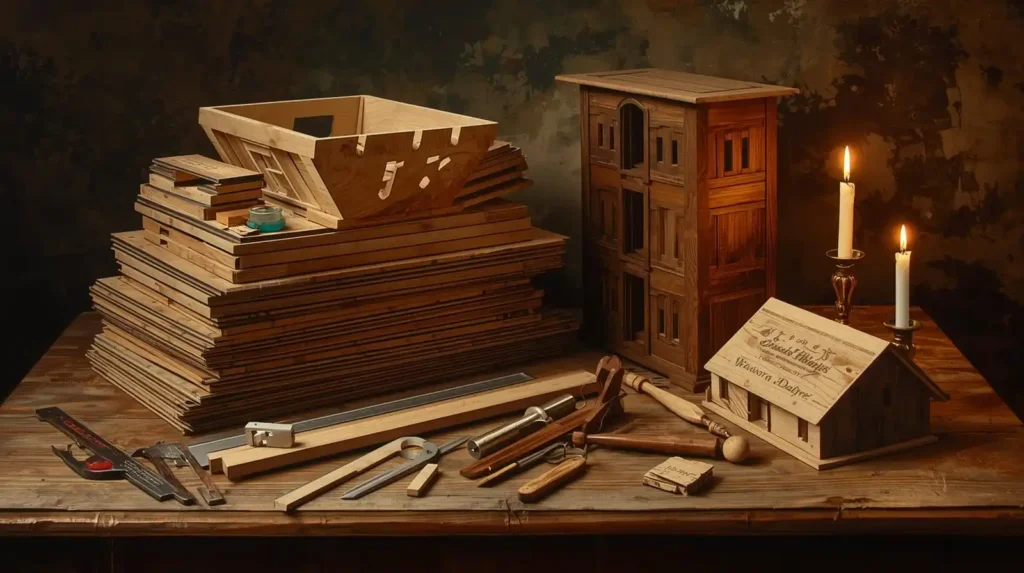
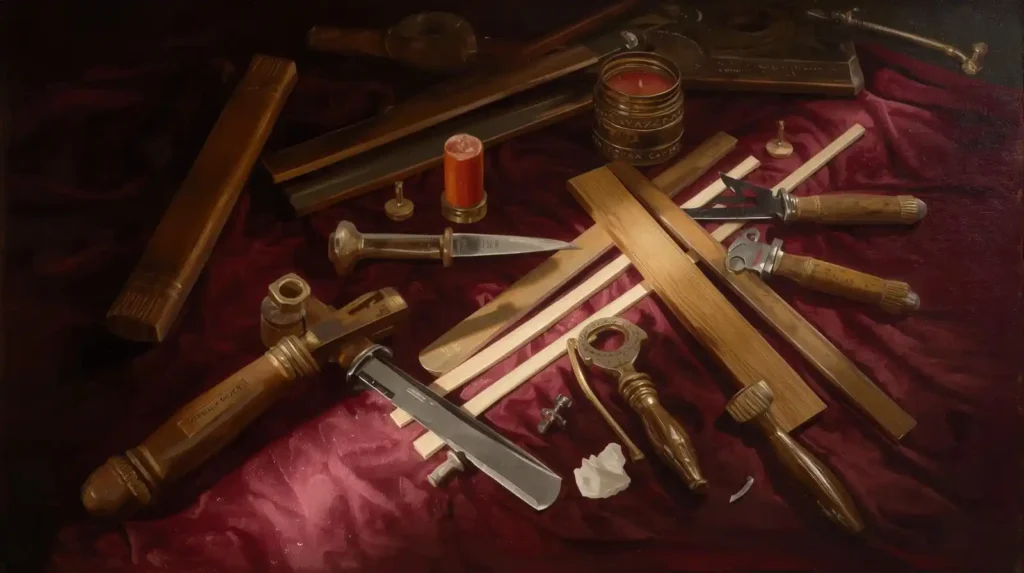
3. Essential Tools and Materials
To successfully bash a kit, you’ll need a reliable set of tools:
- Precision craft knives and spare blades
- Small saws or miter shears
- Sandpaper and needle files
- Mini clamps and masking tape
- Scale ruler and calipers
- Wood glue, cyanoacrylate (CA), and epoxy
- Thin basswood, balsa, or chipboard
- Decorative trims, shingles, and moldings
- Acrylic paints and primers
You don’t need everything at once. Start with essentials and expand as your projects grow more ambitious.
4. Structural Kit Bashing Techniques
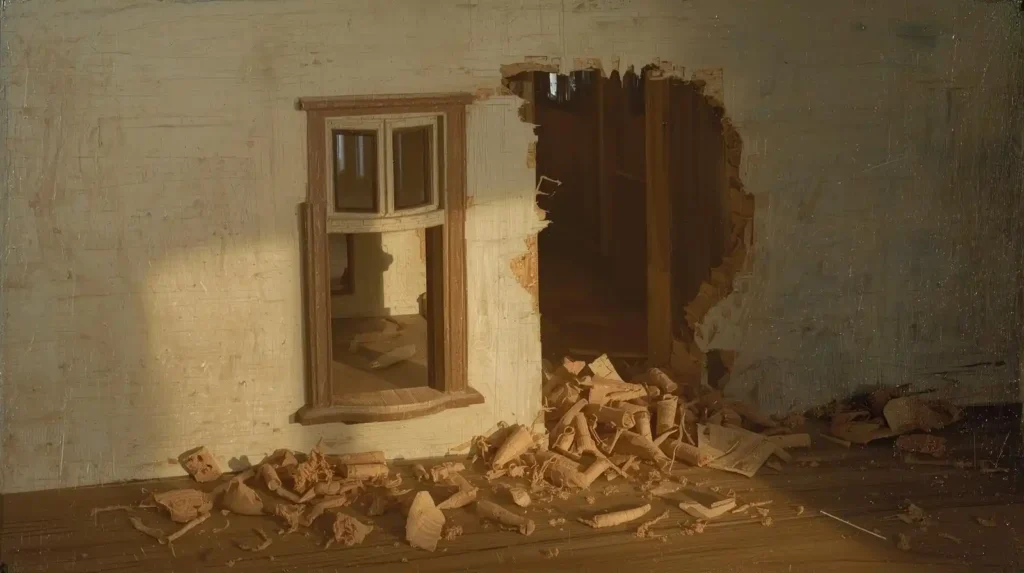
4.1 Modify Openings
Cut larger windows, close unused doors, or replace standard frames with custom ones. Always cut carefully from both sides of the wall to avoid splintering.
4.2 Add New Elements
Bay windows, porches, dormers, or even full wings can dramatically change the silhouette. Use basswood or chipboard to frame your additions, making sure to support them with internal braces.
4.3 Merge Multiple Kits
For bolder projects, graft a porch or staircase from one kit into another. Combining elements gives you endless flexibility but requires careful measurement.
5. Furniture and Interior Integration
Kit bashing doesn’t stop at the walls. Your furniture should evolve with your modifications.
5.1 Scale and Style Consistency
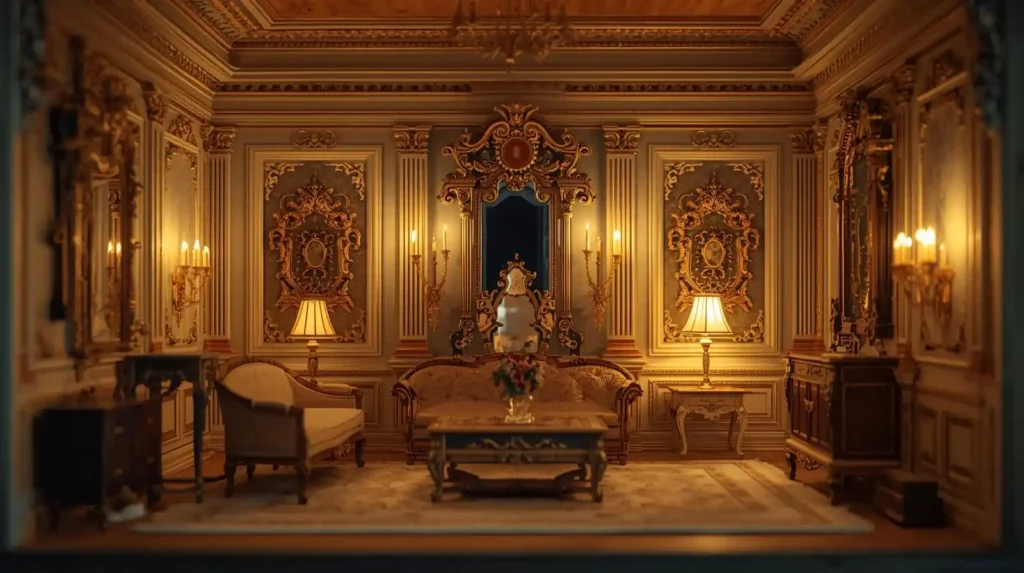
Always match furniture scale (1:12, 1:24, etc.) to your kit. A modern loft looks best with sleek, minimalist furniture, while a Victorian bash benefits from ornate, carved pieces.
If you want to craft furniture from scratch, try How to Make DIY Dollhouse Furniture Step by Step. It’s a supportive guide with beginner-friendly instructions for tables, chairs, and cabinets.
5.2 Using Templates and Printables
Furniture templates can save hours of trial and error. Printable Dollhouse Furniture Templates: The Best Books and Online Resources provide ready-to-use patterns that you can adapt, resize, or embellish.
5.3 Matching Trim and Finishes
Keep your interior trim consistent. If you added dentil molding outside, consider echoing the pattern in baseboards or furniture legs. This creates visual harmony.
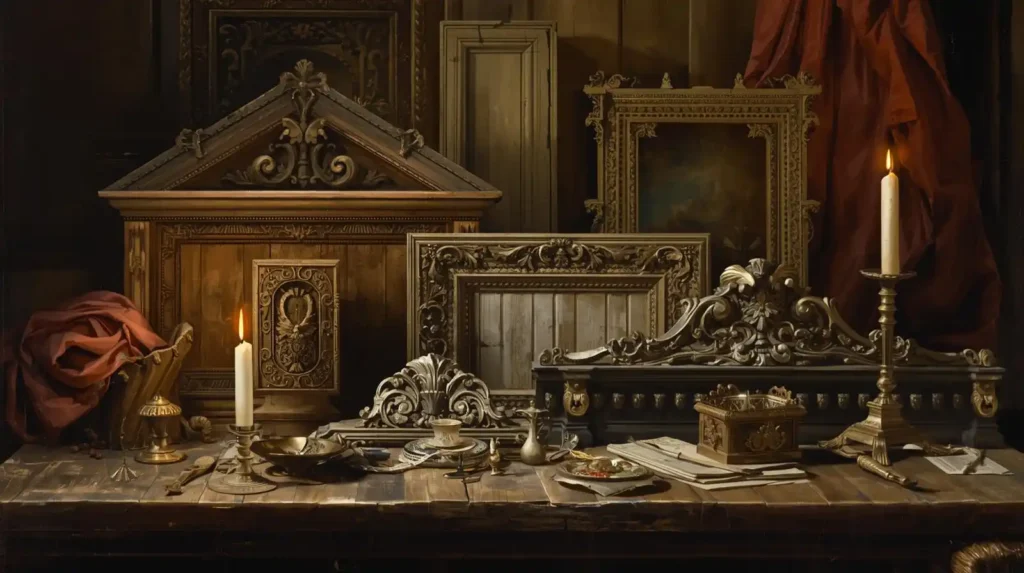
6. Dollhouse Trim Ideas That Elevate Your Bash
Trim is where personality shines. Some ideas:
- Decorative fretwork on gables
- Scalloped shingles on a Victorian roof
- Beadboard wainscoting in kitchens
- Faux stone veneer on exterior walls
- Chair rails or crown molding inside
To understand how furniture styles and trim choices fit into the bigger picture, see The Ultimate Guide to Dollhouse Furniture: Styles, Materials, and Collecting Tips. It explores materials and aesthetics that can inspire your design.
7. Example Project: Adding a Bay Window with Built-In Seating
- Cut a rectangular opening in the front wall.
- Build a three-sided bay from basswood, angled at 30° or 45°.
- Attach roof panels to blend seamlessly into the original slope.
- Line the interior with beadboard wainscoting.
- Build a custom window seat using leftover kit wood.
- Add cushions and finish with trim that echoes exterior detailing.
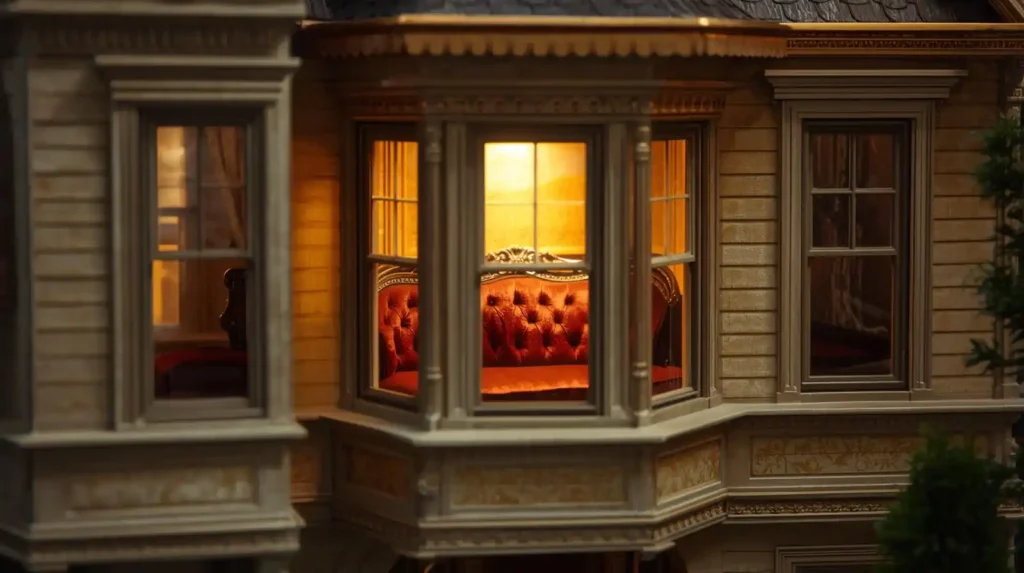
The result: a house that looks dramatically different from its original kit form, with functional interior furniture that feels custom-built.
8. Avoiding Common Pitfalls
| Issue | Symptom | Solution |
|---|---|---|
| Misaligned joints | Gaps in walls or roof | Dry-fit pieces, sand edges, use clamps |
| Warped panels | Twisted walls or trim | Brace with strips, store wood flat |
| Glue bleed | Stains or shiny spots | Apply with a fine tip, sand lightly before painting |
| Scale mismatch | Furniture looks “off” | Double-check scale before cutting |
| Fragile extensions | Porches or bays sag | Reinforce with hidden supports |
| Paint inconsistency | New parts stand out | Prime and weather to blend |
9. Inspiration and Next Steps
Kit bashing doesn’t just make your dollhouse unique — it teaches you problem-solving and design skills. Many hobbyists start with modest changes, then progress to major overhauls, even building from scratch.
When you’re ready to take that leap, check out Scratch Build Secrets: Scaling Down Real-Life Architecture into Miniature Form. It’s a natural progression from kit bashing to full creative freedom.
FAQ
-
Do I need advanced carpentry skills to do kit bashing?
No—you don’t need to be a master woodworker. Many kit bashes are modest: swapping trim, adding a window, or overlaying moldings. Start small and build your confidence. The more you practice, the more advanced changes (roofs, wings) you’ll feel comfortable doing.
-
Will my modifications weaken the structural integrity?
They can, if you remove load-bearing elements carelessly. Always retain or replicate internal support studs or braces. Use lightweight materials for additions and reinforce with discreet corner braces, shims, or backing strips.
-
How do I match trim or detail from one kit to another?
Take precise measurements of profiles (height, thickness). Use calipers or scale rulers. Locate laser-cut trim kits or molding strips of the same scale. If necessary, replicate details using thin basswood or styrene layering.
-
Can I kit bash multiple kits of different scales?
It’s risky. Mixing scales (e.g. 1:12 + 1:24) will look incongruous. Try to stick to one consistent scale. If you must mix, reserve smaller kit parts as decorative bits or accents, not structural elements.
-
How can I blend my modifications seamlessly with the original kit look?
Use primer and undercoats to unify surfaces, weathering washes to soften transitions, and matching trim motifs. Feather edges of new parts so seams are less stark. Subtle aging helps blend new and old.
-
Where can I get inspiration or patterns for custom trim and furniture?
You can refer to dollhouse furniture templates (books, online printables) and follow How to Make DIY Dollhouse Furniture Step by Step for techniques. Browse miniaturist blogs, forums, and galleries for trim ideas or adaptations of architectural detailing.
-
Will altering the kit make it unstable?
Not if you reinforce wisely. Add braces, shims, or hidden supports whenever you remove a structural piece.
-
How do I make my changes look seamless?
Prime all surfaces, match paint tones, and use consistent trim motifs. Weathering also helps blend new with old.
-
Where can I find affordable furniture patterns?
Printable templates and beginner DIY guides are great starting points. Many free and paid options exist online. Or Puchase the items via MiniatureBits .
-
What’s the biggest beginner mistake?
Cutting without measuring twice. Always dry-fit before gluing or painting.
Conclusion
Dollhouse kit bashing is equal parts creativity, patience, and craftsmanship. By carefully planning your modifications, experimenting with trims and furniture, and integrating DIY techniques, you’ll end up with a miniature home that reflects your imagination rather than a kit manufacturer’s blueprint.
So go ahead: pick up your kit, grab your tools, and start bashing. Each change you make brings you closer to a miniature masterpiece.

